

OEM Custom Bolts What Every Product Designer Should Know
2026-09-01
Ask any product designer about bolts and you'll get a shrug—until a custom OEM spec lands on the desk. Suddenly, thread pitch, underhead geometry, and plating aren't afterthoughts; they're the difference between a product that survives the field and one that fails spectacularly. Peak Fasten has worked with teams across industries to nail these details before they become costly redesigns. Here's what you should know before your next prototype.
Why Standard Bolt Specs Fail in Custom OEM Applications
Standard bolt specifications are designed to serve a broad market, built around common load scenarios and typical assembly environments. But custom OEM applications rarely operate under such generic conditions. Equipment might be exposed to extreme temperature swings, aggressive chemicals, or persistent high-frequency vibration. The tolerances and material selections baked into standard specs don't account for these realities, so bolts that look fine on paper can loosen, corrode, or shear well before their rated life.
Another mismatch comes from geometry. Custom OEM designs frequently require non-standard lengths, unique head profiles, or specialized thread forms to fit tight spaces or interface with proprietary components. Standard bolt catalogs simply don't offer those options. Forcing a standard fastener into a custom assembly often means compromising the design—adding spacers, re-machining parts, or accepting weaker clamping force—which undermines the very reason the OEM went custom in the first place.
There's also a pace problem. OEM innovation moves fast, with new alloys, coatings, and surface treatments emerging constantly to improve fatigue resistance or reduce galling. Standard specifications, however, update slowly, sometimes taking years to incorporate new materials or testing methods. By the time a standard catches up, a custom OEM project may already be two product generations ahead. Relying on standard specs in that environment doesn't just limit performance—it actively holds back the design.
Material Selection Beyond the Grade Mark: What Designers Overlook
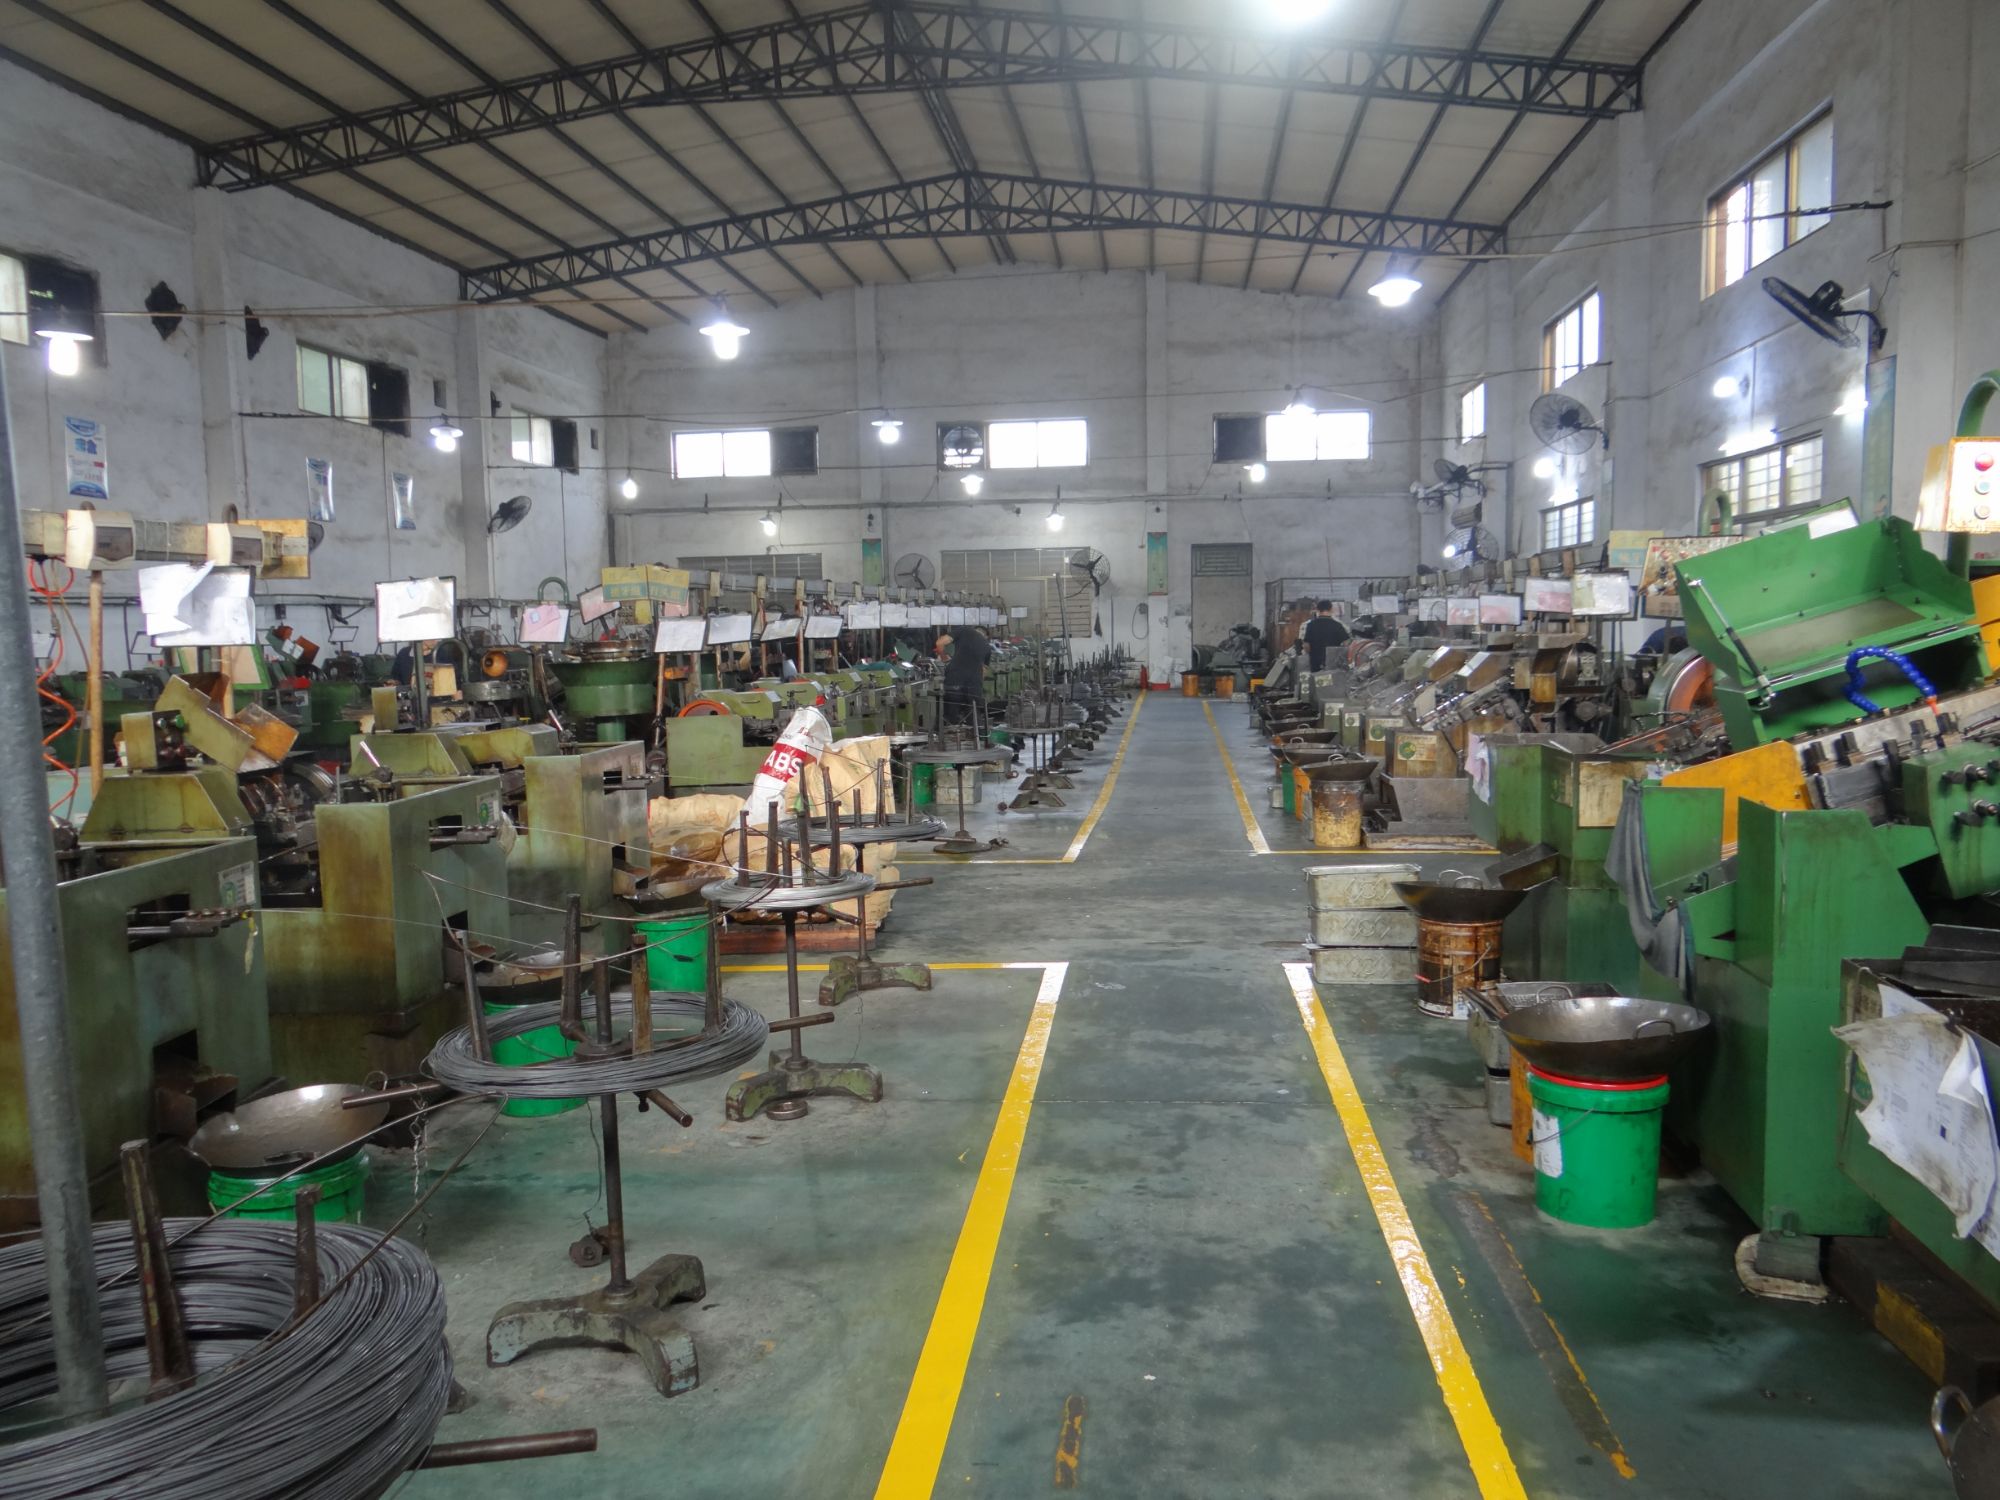
Grade marks are useful shortcuts, but they rarely tell the whole story. A 316 stainless might share the same ASTM number across suppliers, yet differences in melt practice, trace elements, and even surface finish can shift how it behaves in a marine environment or a cleanroom. Designers who stop at the certificate often miss that real-world performance is shaped by these quieter variables—ones that no single line on a data sheet will capture.
Another blind spot sits at the interface between material and manufacturing process. The same alloy can perform brilliantly when machined one way and fail prematurely after a different heat treatment or forming sequence. Residual stress, grain orientation, and microstructural changes aren't listed on the grade mark, but they often decide whether a part survives its first year in service or cracks during assembly. The material's nominal identity is only a starting point.
Finally, designers tend to overlook how a material behaves in the specific context of use—not just in standard test conditions. Temperature cycling, exposure to cleaning agents, vibration, and even the presence of a galvanic couple with a different fastener can push a familiar grade into unexpected territory. Making confident choices means looking past the label and asking what the material has actually been through, and what it will face next.
Tolerance Stack-Ups That Can Make or Break Assembly
When several parts come together, their individual dimensional variations don't stay neatly contained. A bracket that's 0.1 mm over, a pin that's 0.05 mm under, and a hole located 0.08 mm off nominal can add up to a fit that's too tight, too loose, or impossible to assemble. This accumulation, called tolerance stack-up, often goes unnoticed until the first production run stalls. The real trouble is that each single deviation might be well within spec, yet the combined effect pushes the assembly outside acceptable limits.
A classic case shows up in bolt-hole patterns. If two flanges each have hole positions drifting in opposite directions, the bolts may not pass through even when every hole diameter passes inspection. In press-fit assemblies, stacked variations across a shaft, bearing, and housing bore can turn an intended interference into either a galled joint or a rattling clearance. These aren't just theoretical risks; they directly drive rework, warranty claims, and line shutdowns.
Catching these issues early means moving beyond simple worst-case arithmetic. Statistical tolerancing or Monte Carlo simulation often reveals that the "worst" combination is extremely unlikely, allowing looser individual tolerances without sacrificing fit. But the opposite can also be true: if a critical stack-up gets ignored, a supposedly robust design can fail in the hands of real operators. The difference between a smooth launch and a costly fix often comes down to which stack-ups were analyzed before tooling was cut.
Coatings and Platings: Balancing Corrosion Resistance with Torque
In industrial fastening, coatings and platings often pull double duty—shielding threads from rust while quietly altering friction at the joint. A zinc flake coating, for example, may excel in salt spray tests but can reduce the effective preload if torque specs aren't recalibrated. Engineers frequently discover that a beautifully corrosion-resistant fastener slips or galls because the surface layer changed the relationship between applied torque and actual clamp force.
The trick lies in treating torque as a moving target rather than a fixed number. Phosphate and oil coatings can act as lubricants, demanding lower installation torque to hit the same tension, whereas some ceramic-rich platings behave almost dry, forcing higher input. Field data from automotive assembly lines shows that switching from black oxide to a high-performance polymer topcoat shifted required torque by nearly 18 percent—a discrepancy that could easily lead to under-tensioned brackets or snapped studs if ignored.
The most robust approach pairs tensile testing with a defined coating thickness range. By measuring the actual preload at different torque values for each batch of coated fasteners, teams can build a reference curve. This avoids the trap of assuming that a plating only adds corrosion resistance—it also rewrites the torque-tension story, and smart engineers read that story before finalizing assembly specs.
Prototyping with Off-the-Shelf Fasteners Before Going Custom
Early in a build, the temptation to machine a bespoke screw or bracket can be strong, but it often leads to wasted hours and delayed learning. Off-the-shelf fasteners—hex bolts, shoulder screws, rivnuts, and even simple washers—give you a way to test joint strength, access, and assembly sequence without committing to a custom part. You can walk into a hardware store or open a catalog, grab a handful of sizes, and iterate on the spot.
Another overlooked advantage is that standard fasteners carry known tolerances and material properties. When something binds or loosens during testing, you can rule out the fastener as the variable. That clarity lets you focus on the surrounding geometry, hole placement, and load paths. If a M5 button head works for the prototype but looks bulky, you now have a clear spec to drive a custom design later—not a guess.
Finally, mixing standard parts into prototypes keeps the door open for field repairs and quick swaps. A custom screw with an unusual thread pitch might be perfect on paper, but if it fails on a Friday afternoon, you're stuck waiting for a replacement. Off-the-shelf options let you keep the prototype moving, and they often reveal that a custom fastener was never needed in the first place.
Partnering with Suppliers Early to Avoid Costly Redesigns
Bringing suppliers into the conversation during the initial design phase often feels counterintuitive — after all, you haven't nailed down every spec yet. But waiting until drawings are frozen means you lose access to the exact people who could have flagged material incompatibilities, tooling constraints, or unnecessary complexity before it became expensive. A sheet metal fabricator might point out that a folded bracket could be stamped at half the cost with two minor tweaks; a molding partner might suggest a slight draft angle change that eliminates the need for secondary machining. These insights rarely surface when you hand over a finished CAD file and ask for a quote.
The real savings come from treating suppliers as design collaborators rather than order takers. Set up a working session where your engineers and their process experts review the concept together — not as a formality, but as a genuine exchange. Ask what would be easiest to produce, what tolerances are actually achievable without premium pricing, and where they see risk. You'll often find that a supplier's proposed alternative performs the same function while cutting a third of the part count or removing a tight tolerance that wasn't functionally necessary. Those adjustments, made early, cost nothing. Made later, they trigger revalidation, tooling changes, and weeks of delay.
One practical way to start is by inviting two or three trusted suppliers to a pre-prototype review. Explain the functional goals rather than the finished geometry, and let them push back on anything that seems over-engineered. In many cases, a supplier will suggest a standard component or a proven manufacturing approach that eliminates a custom part entirely. That kind of input is only possible when the design is still fluid — and it's exactly what prevents the late-stage redesigns that blow budgets and timelines. The earlier you ask, the cheaper the answer.
FAQ
It usually comes down to three things: the exact mechanical load, the environment it'll live in, and how it gets installed. If you don't pin those down early, you end up paying for over-engineering or dealing with field failures.
Look at the functional gaps first. If a standard bolt meets your torque, corrosion, and head geometry needs, stick with it. Go custom only when you need a unique head shape, an unusual thread length, a specific shoulder, or a material that off-the-shelf parts don't cover.
It depends on the manufacturing method. Cold-headed bolts can hold tighter tolerances on diameter and length than fully machined parts in many cases, but the real key is matching the tolerance to the mating component. Tight tolerances everywhere just add cost without improving function.
There's no flat multiplier. Tooling and minimum order quantities drive the initial cost. A simple custom shoulder bolt might be only 20-30% more per piece at volume, but a complex head with undercuts could be several times more. Ask for a cost breakdown before committing to a design.
For outdoor use, hot-dip galvanizing or a high-performance coating like Geomet or Dacromet often beats plain zinc plating. Stainless steel may be an option, but watch out for galling. The right choice depends on whether you need sacrificial protection or just barrier protection.
The rule of thumb is 1 to 1.5 times the bolt diameter for steel-to-steel joints, but softer materials like aluminum need more. With custom bolts you can also specify a longer thread run-out or a pilot point to improve alignment during assembly, which is often overlooked.
Yes, almost always. Ask for a small batch of first articles, then test them in your actual assembly process, not just on paper. Things like head marking, coating adhesion, and drive tool fit can reveal problems that drawings miss.
Share the full application context, not just the print. Tell them the load direction, vibration level, temperature range, and whether the joint gets disassembled. Also clarify if the bolt is safety-critical or cosmetic. That helps them recommend the right material and process without guessing.
Conclusion
Most product designers start with standard bolt specs because they are easy to find and familiar, but real OEM assemblies rarely reward that convenience. Standard lengths, head styles, and thread classes often force compromises: a bolt that is just a bit too long needs a spacer, a head that is too tall gets in the way of a moving part, or a thread engagement that looks fine on paper creates loose joints under vibration. Those mismatches show up late, during prototype builds or first production runs, when they are expensive to fix. The lesson is not that every fastener must be custom from day one. It is that designers should treat off-the-shelf bolts as a useful early prototyping tool, not as the final answer. Testing with stock hardware reveals what actually needs to change—length, shoulder diameter, drive recess, or under-head radius—before money goes into tooling.
Material choice also deserves more attention than just picking a grade mark. Designers often overlook how a specific alloy behaves after heat treatment, how it interacts with a tapped hole in a different metal, or how a coating shifts the torque-tension relationship. Zinc plating, for example, can lower the friction enough to over-tighten a joint, while a thick ceramic coating may make the same torque feel different on the assembly line. Tolerance stack-ups are just as critical: a bolt with a wide shoulder tolerance paired with a tight bore can create binding, while a loose fit hides alignment problems until parts are torqued. The most practical approach is to involve a fastener supplier early, share the actual assembly conditions—vibration, temperature, clamp load, service environment—and let them recommend a combination of material, heat treatment, and finish. That conversation, held before drawings are frozen, usually costs nothing and can eliminate a lot of redesign work later.
Contact Us
Contact Person: Mason Lv
Email: [email protected]
Tel/WhatsApp: +86 13027998452
Website: https://www.peakfastentech.com