
Seamless Look: How to Hide LED Strip Lights?
2024-06-07
Hiding LED strip lights to create a seamless and aesthetically pleasing look can be achieved using several methods. Here are some effective techniques:
1. Use Aluminum Channels
- Aluminum Channels with Diffusers: These are specifically designed for LED strip lights. They come with a diffuser cover that softens the light and hides the strip itself.
- Installation: Mount the aluminum channel where you want the LED strip. Place the LED strip inside and cover it with the diffuser. Channels can be recessed into surfaces or mounted on top.
2. Install in Cove Molding
- Cove Molding: Install LED strips inside cove molding around the ceiling or at the top of walls. The molding hides the strips and directs the light towards the ceiling or wall, creating an indirect lighting effect.
- Installation: Attach the cove molding to the desired location, place the LED strip inside, and secure it.
3. Under Cabinets or Furniture
- Under Cabinet Lighting: Hide LED strips under kitchen cabinets or shelves to illuminate countertops or display areas.
- Installation: Attach the LED strip to the underside of the cabinet or shelf using adhesive backing or mounting clips.
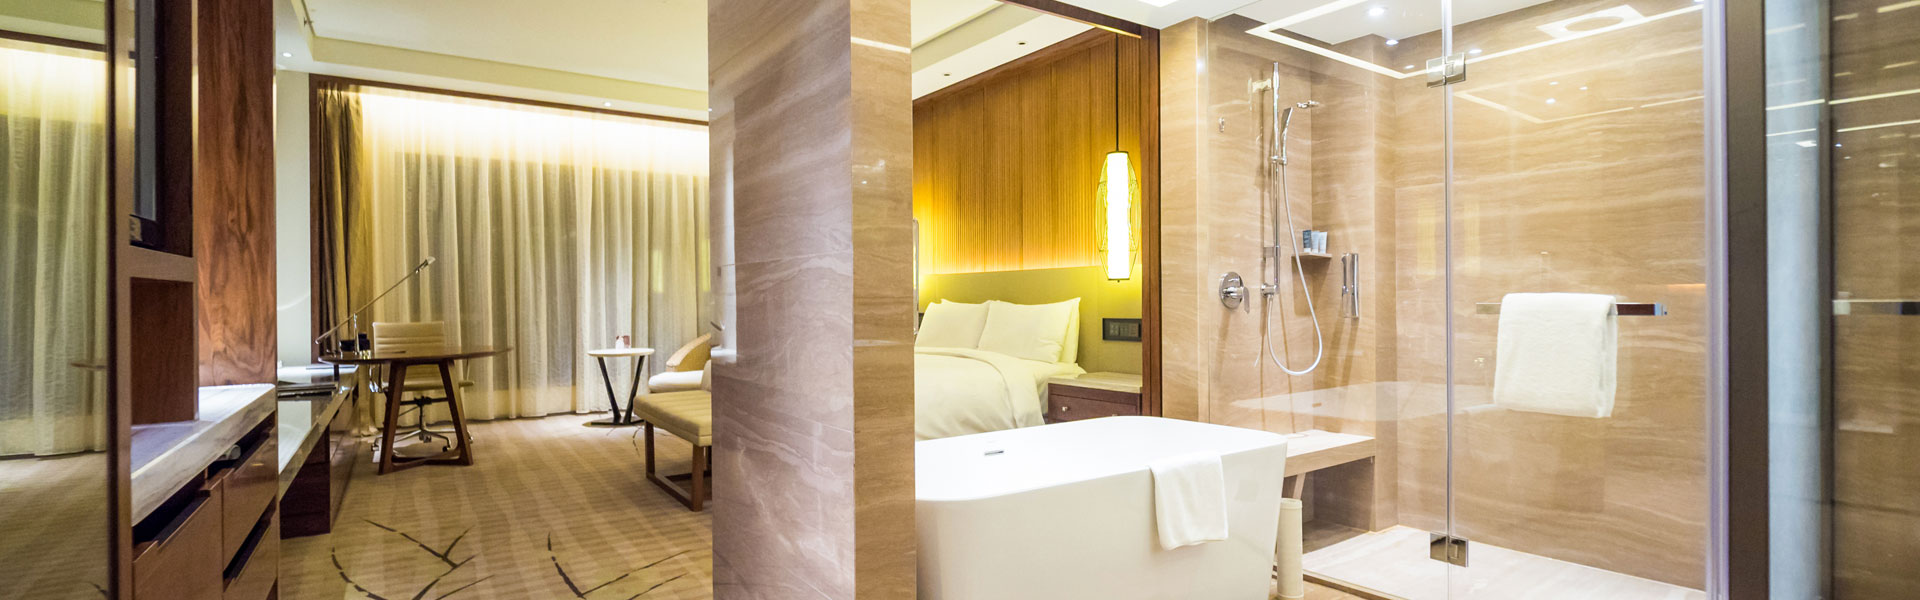
4. Behind TV or Monitors
- Backlighting: Place LED strips behind TVs or monitors to create a subtle glow and reduce eye strain.
- Installation: Stick the LED strips around the back edges of the TV or monitor.
5. Recessed Lighting
- Recessed Grooves: Create recessed grooves in walls, ceilings, or furniture where LED strips can be placed.
- Installation: Cut a groove or channel in the desired surface, insert the LED strip, and cover with a diffuser if needed.
6. Behind Crown Molding
- Crown Molding: Install crown molding a few inches below the ceiling and place the LED strips behind it to cast light upwards.
- Installation: Secure the crown molding to the wall, then attach the LED strip behind it.
7. Use Frosted or Opaque Covers
- Covers and Lenses: Use frosted or opaque covers that snap onto or are placed over the LED strips to diffuse and hide the lights.
- Installation: Attach the cover to the LED strip or mounting surface.
8. Furniture and Home Decor Integration
- Custom Furniture: Integrate LED strips into custom furniture pieces such as headboards, bookshelves, or entertainment centers.
- Installation: Design the furniture with built-in channels or compartments for LED strips.
Tips for a Seamless Look
- Plan the Layout: Decide on the placement and routing of the LED strips before installation.
- Clean Surfaces: Ensure surfaces are clean and dry before applying adhesive-backed LED strips.
- Use Connectors: Utilize connectors for sharp corners or to bridge gaps, ensuring a continuous light strip.
- Test Before Final Installation: Test the LED strips and connections to ensure they work correctly before finalizing the installation.
- Consider Color Temperature: Choose the appropriate color temperature (e.g., warm, cool, daylight) to match the room's ambiance.
By using these methods, you can effectively hide LED strip lights while enhancing the overall lighting and ambiance of your space.